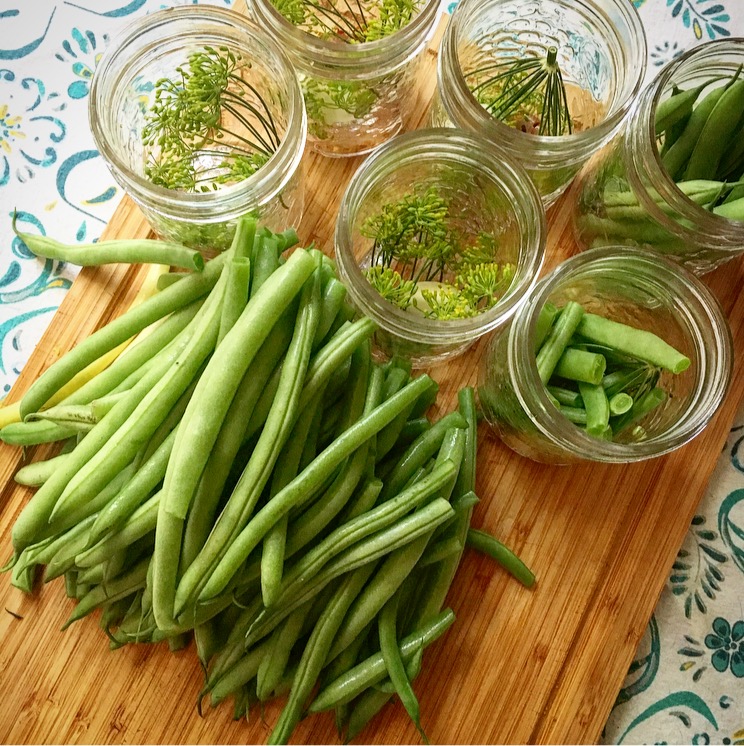
Dilly Beans
 I love canning, and pickling is one of the easiest kinds of canning that you can do. It takes very little prep, it’s easy, and it’s one of the safest kinds of canning because of the acidic environment created by the vinegar. Which is why it’s great for beginners – especially Dilly Beans, which are cheap and easy to do. And who doesn’t love pickles?
I took a trip down to the St. Lawrence Market‘s weekly Farmer’s Market this past weekend to pick up pickling dill, beans, and pickling cukes – I meant to grow my own dill this year, but due to poor pot placement in the pocket garden, the dill half-died (it needs loads of sun!) so I didn’t have enough to do even one batch of pickles.
Dilly Beans are always an unexpected hit – you give someone a jar, and a month later they tell you that they forgot about them, then finally opened it and accidentally ate the whole jar by themselves. They’re great as a garnish in a Caesar, too, or on a charcuterie or cheese platter.
Once you’ve assembled your ingredients and tools, you can have beautiful Dilly Beans finished in about an hour, ready to eat in a few weeks. Or in a few days, if you’re really impatient, but they do get better over time.
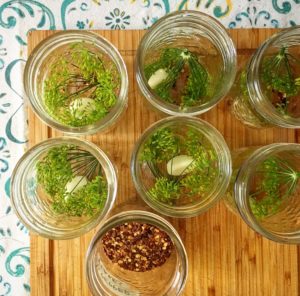
Note: I put a pinch of red pepper flakes in some of the jars this time ’round, to see how a spicy Dilly Bean tastes – I’ll report back with the results!
 Dilly Beans
Yield: 5-6 cups
Prep Time: 30 minutes
Processing Time: 10 minutes
Resting Time: 24 hours
When to eat: It’s fine to eat them immediately after you’ve canned them, but if you can, give them at least a month to let the flavours deepen. Once opened, you should eat them within a month. Safe to eat for 1-2 years (it really depends on who you ask, but if they’re sealed properly and kept away from light/heat they could keep longer)
Ingredients
- 3 3/4 cups vinegar
- 3 3/4 cups water
- 1/3 cup pickling salt
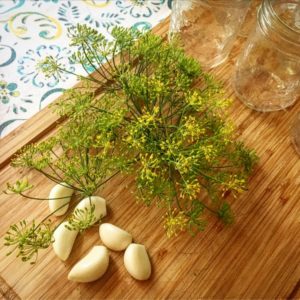
- 6 cloves garlic, peeled
- 6 springs of dill
- 3 lbs green and/or yellow wax beans, trimmed and cut into jar-length pieces
Special Equipment
- 6 Canning jars with brand-new lids (do not reuse lids)
- A large canning pot for processing
- Canning tongs to take jars in and out of the boiling water
- A wide-mouthed funnel for pouring brine into the jars
Directions
- Wash jars and new lids in hot, soapy water. Rinse well and allow to air dry.
- Wash beans well.
- Peel garlic, and chop off bottoms.
- Combine vinegar, water and salt in a large saucepan and bring to a boil over high heat, stirring to dissolve salt.
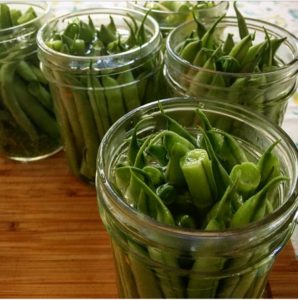
- Pack beans, dill and garlic in jars leaving 1/2 inch headspace at the top.
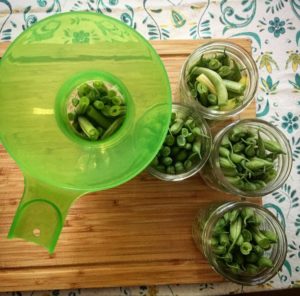 Ladle hot liquid into jars, leaving 1/2-inch headspace.
 - Remove air bubbles. Wipe rim, centre lid on jar. Apply band and adjust until fit is fingertip tight (it should be effortless to loosen it again).
- Bring water to boil in large canning pot.
- Add closed jars to boiling water using canning tongs; make sure that there’s at least an inch of water over the jars.
- Bring water to a boil; begin timing 10 minutes once water is at a boil again (processing times differ at different altitudes; please check before processing!).
- Remove jars and set aside to cool. Check for seal after 24 hours. The lids should not flex up and down when centre is pressed. If they any jars haven’t properly sealed, store them in the fridge and eat them soon.
- Allow to pickle for a month or longer; eat within one year.
For more delicious recipes, visit the Family Recipes page!
